How to install Malay locale in Ubuntu Step-by-step
 Salam to all.
Today I'm going to share how to install a Malay locale or Bahasa Melayu localization in Ubuntu. For those who do not know what is localization means, here is a quick tips on Wikipedia. Localization is sometimes also known as Internationalization.
Anyway, the reason why someone wants to change their Ubuntu interface language is very simple. When English is not your native language, then why not try your first language (if it is widely and freely available)?
This 'how to' is actually not only for Malaysian, but can be used by all Ubuntu users out there.
Okay, let's start.
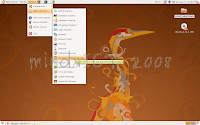
1. First, fire up Synaptic. (System-Administration-Synaptic Package Manager)
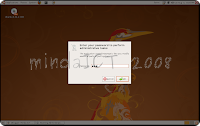
2. Key in your password
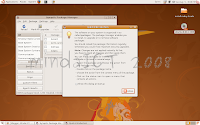
3. Click Close
4. Click Search
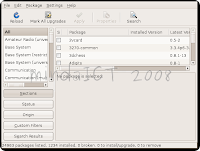
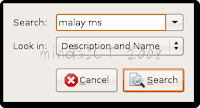
5. Type in malay ms, or your chosen language.
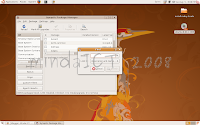
6. Click Search
7. The malay language file (locale) will be displayed for both KDE and GNOME desktop
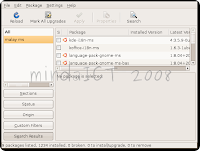
8. Choose language pack files for gnome as in picture showed below.
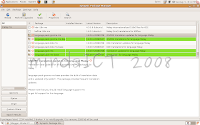
9. Click Apply.

10. Click Apply again.
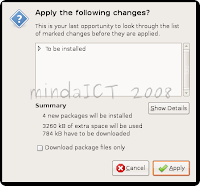
11. The package files will be downloaded. Wait patiently until it is all finished.
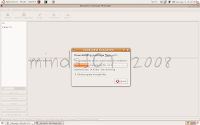
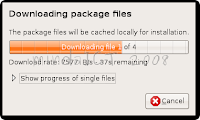
12. The installation will start after the download process is successful. Wait for a moment.
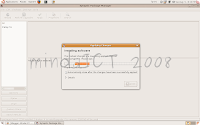
13. If the installation is successful, click Close.

14. Close the Synaptic Package Manager.
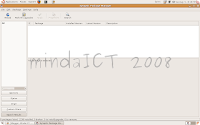
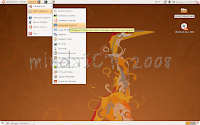
15. Okay, now to set up the desktop default language. Open Language Support (System-Administration-Language Support).
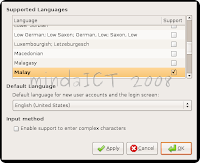
16. Scroll up/down and find Malay language. Click on the little box to choose it. Make sure the box is checked.
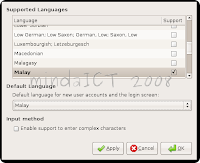
17. On the Default Language, choose Malay. Click Apply and OK to continue.
 '
'18. A reboot is needed to complete the setup. Reboot and enjoy your new interface language.
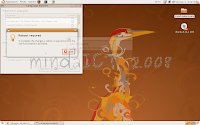
Huh.. finally, it is over. 18 steps. That is too long for immediate linux user. So this is the alternative using the terminal. Just copy and paste this codes onto the terminal.
sudo apt-get install language-pack-ms language-pack-ms-base language-pack-gnome-ms language-pack-gnome-ms-base
sudo apt-get gnome-language-selector
follow step 16 - 18. Now, that's more like it.
Don't forget to comment my tutorial, okay. A simple thank you is enough to get my spirit high.
:P


Hi.I think you should put 2 entry. One is using terminal & another one using Synaptic Package Manager.
ReplyDeletefrom phrozen,
http://phrozen-underworld.blogspot.com/
hmm.. what do you mean?
ReplyDeleteis it going to be easier that way?
i thought keep both on one post is much more easy for readers to find info?
Many thanks for the tutorial. That's a bookmark for you.
ReplyDeleteThanks standbysoft.
ReplyDeleteBeen busy lately and no time to update.